
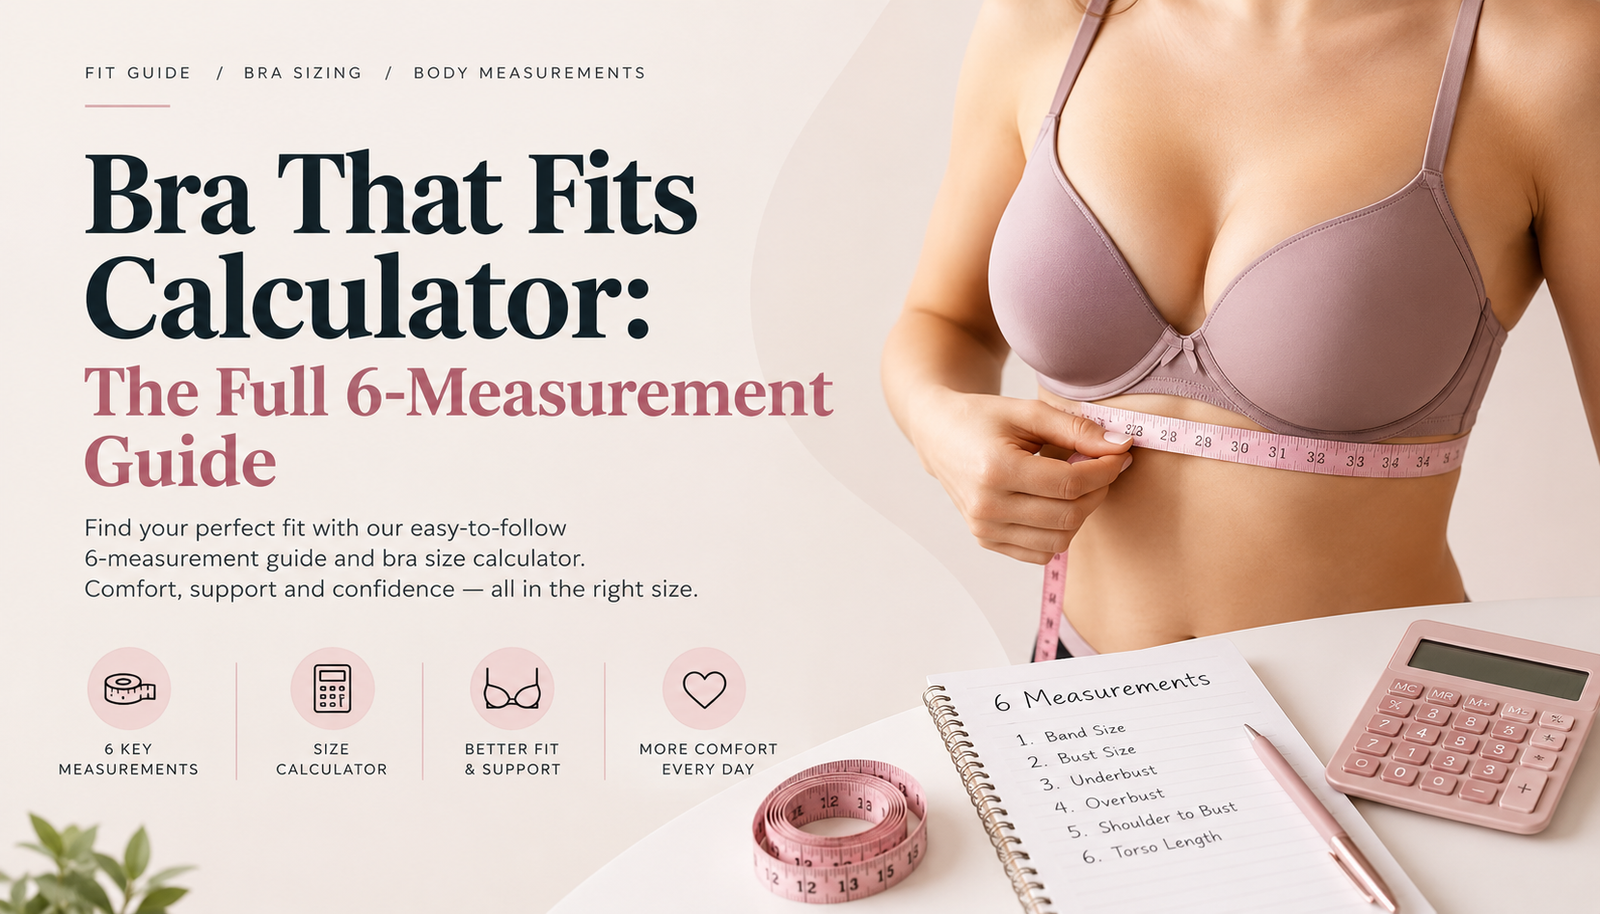
The Bra That Fits Calculator: How to Find Your Real Size Without Guessing
If you’ve ever left a department store fitting room more confused than when you walked in, you’re not alone. Most of us were taught to measure once, add a few inches, and call it a day. It turns out that method has been wrong for decades and it’s the reason an estimated 80% of people are walking around in the wrong bra size right now.
That’s where the bra that fits calculator comes in. Built by the fitting community on Reddit’s r/ABraThatFits, it throws out the old retail shortcuts and replaces them with six real measurements taken in three different positions. No inflated bands, no guesswork just numbers based on how your body actually moves and sits.
In this guide, we’ll walk through exactly why the old sizing method fails, how to take all six measurements correctly, how to read your results, and how to make sure the bra you buy actually fits once it arrives.
Why Traditional Bra Sizing Gets It Wrong
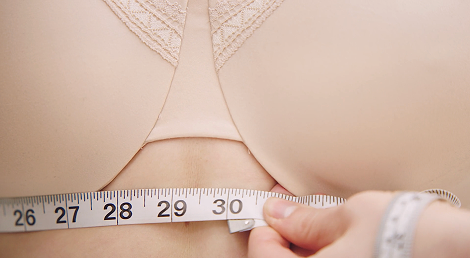
The problem starts with something called the “+4 method,” and it’s older than you’d think.
Back when bras were made from stiff, non-stretch fabric, fitters added four inches to the underbust measurement just so the wearer could actually breathe. Once stretchy materials like elastane took over in the late 1960s, that extra room stopped being necessary a band was designed to sit right at its labeled size. A 32 band is meant to measure roughly 32 inches, full stop.
Retailers kept the old formula anyway, mostly because it’s cheaper to stock. Most stores only carry bands from 32 to 38 and cups from A to D, so a customer with a snug 28-inch underbust and a 34-inch bust technically a 28E gets measured into a 32B instead, simply because that’s what’s on the shelf.
The two sizes hold a similar amount of volume (that’s the idea behind “sister sizing”), but they don’t function the same way:
- The band does almost none of the work. Roughly 80–90% of a bra’s support should come from the band, not the straps. A band that’s four inches too big rides up, shifts around, and dumps all that weight onto your shoulders.
- The cups fight the underwire. Small cups on a wide band are shaped for a different chest entirely, so the wire ends up pressing into breast tissue instead of wrapping around it.
- Tissue gets pushed sideways. Cups that are too shallow can force breast tissue toward the underarms over time, which is a big source of chafing and discomfort that people just learn to live with.
A bra that fits calculator skips all of that by working from your actual anatomy instead of what’s easiest to keep in a warehouse.

What You’ll Need Before You Measure
You don’t need much but skipping these basics is the most common reason people get inaccurate results.
- A soft tailor’s tape. A cloth or vinyl sewing tape, not a rigid one. It needs to bend with your body.
- No bra or top on. Even a thin camisole compresses tissue enough to throw the numbers off, so measure topless if you can.
- A full-length mirror. This helps you check that the tape stays level all the way around your back.
- Normal breathing. Don’t suck in, don’t puff up just stand or move naturally through each step.
The 6 Measurements, Step by Step
This is the part that separates a bra that fits calculator from a standard tape-measure guess: three underbust readings and three bust readings, each capturing something the others miss.
The Underbust Measurements
These three numbers map your ribcage and tell the calculator how much natural “give” you have which affects whether you’ll be comfortable in a snug band or need a bit more room.
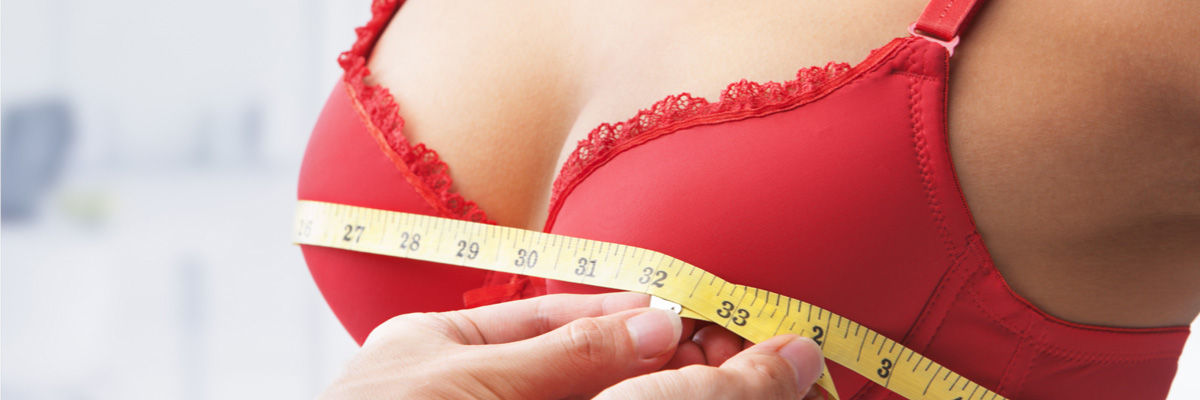
- Loose Underbust Wrap the tape directly under your bust, right along the crease where breast tissue meets ribcage. Keep it level, breathe normally, and let the tape rest lightly without digging in.
- Snug Underbust Same spot, but pull the tape until it feels the way you’d want a supportive band to feel during the day firm, not painful.
- Tight (“Break the Tape”) Underbust Exhale fully and pull the tape as tight as you can stand. This shows your true ribcage size and stops the calculator from suggesting a band that will eventually dig into bone.
The Bust Measurements
Breast tissue moves, so a single standing measurement misses a lot. These three angles catch what a static number can’t.
- Standing Bust Stand relaxed, arms at your sides. Wrap the tape around the fullest part of your bust, keeping it level front to back. Let it sit gently don’t pull tight.
- Leaning Bust (90 Degrees) Bend forward until your back is flat like a tabletop. Let gravity pull everything forward, then measure around the fullest point. This is especially important for fuller or softer tissue that shifts position when you’re upright.
- Lying Down Bust Lie flat on your back and measure across the fullest point again. Tissue spreads toward the armpits in this position, which tells the calculator something about density that standing alone won’t reveal.
Reading Your Calculator Results
Understanding the Band Number
Your band size is based mainly on the snug underbust measurement, with the loose and tight numbers acting as a reality check.
For example: a snug under bust of 31 inches with a tight of 29 and loose of 32 will usually land you at a 32 band. But if your snug and tight measurements are nearly identical say 32 and 31.5 it means you don’t have much padding over your ribs, and the calculator might bump you up to a 34 band, or suggest an extender while a 32 stretches in.
Understanding the Cup Number
Cup letters aren’t fixed sizes they’re the difference between your band and bust measurement, with each letter representing about one inch:
| Bust–Band Difference | UK Cup | US Cup |
| 1 inch | A | A |
| 2 inches | B | B |
| 3 inches | C | C |
| 4 inches | D | D |
| 5 inches | DD | DD/E |
| 6 inches | E | DDD/F |
| 7 inches | F | G |
| 8 inches | FF | H |
| 9 inches | G | I |
| 10 inches | GG | J |
| 11 inches | H | K |
Rather than relying only on the standing measurement, a bra that fits calculator weighs all three bust numbers together. If there’s more than a two-inch gap between your standing and leaning measurements, it treats that as a sign of softer or more projected tissue and adjusts the cup estimate down slightly so you don’t end up in a cup that’s technically “correct” on paper but too big in practice.
Why UK Sizing Is Usually the Better Choice
If your result comes back as something like 30FF or 28GG, don’t panic this trips people up constantly, especially if you’ve spent years in a 34C.
Switching your calculator’s output to UK sizing even if you shop from the US or elsewhere tends to make life easier for a few reasons:
- It’s consistent. UK sizing follows one predictable letter sequence (D, DD, E, F, FF, G, GG, H, HH…), while US brands often invent their own progression after DD.
- Brands that specialize in larger cups and smaller bands use it. Panache, Freya, Elomi, Curvy Kate, and Bravissimo all size in UK and they ship internationally, so you’re not limited by geography.
Breast Shape: The Part Most People Skip
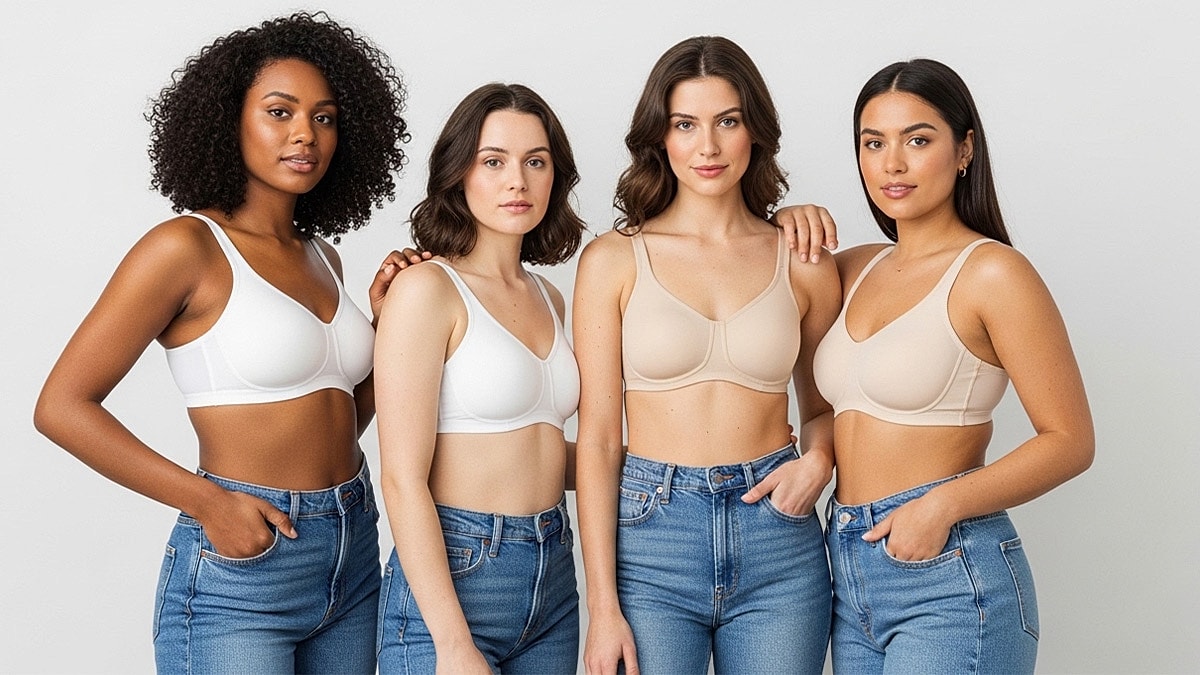
Your number is a starting point, not the finish line. Two people can both measure as a 32F and need completely different bra styles, because shape not just size determines what actually fits comfortably.
Projection vs. shallowness. Projected tissue sticks outward and needs deep, seamed cups with room to spare molded foam bras tend to leave gaps at the bottom. Shallow tissue spreads wider across the chest and does better with broader, flatter cups that won’t gape.
Root width and height. If your tissue extends toward your armpits, you have broad roots and need wider wires to avoid poking. If it starts high, near the collarbone, tall cups can dig into the armpit.
Fullness distribution. Lean forward and check where your tissue naturally gathers:
- Full on bottom does well in balconette or plunge styles with soft, flat top panels.
- Full on top needs open-top or half-cup styles that don’t cut across the upper breast.
- Full in the center often clashes with high center gores a lower plunge gore usually solves it.
The 5-Point Fit Check
Once your new bra arrives, don’t just clip it on and assume it’s right. Run through this checklist first.
- Scoop and swoop. Lean forward, reach in, and sweep tissue from under your arms into the cup before fastening. If it spills over the top afterward, the cup is too small or the wrong shape.
- Check the band. It should sit level all the way around not riding up in back. Try the “backward and upside down” test: hook the band around your ribs with the cups hanging loose behind you. If it stays snug and comfortable that way, the band size is right.
- Check the gore. The center piece between the cups should sit flat against your sternum. If it floats, the cups are too small or too shallow (this doesn’t apply to wireless styles).
- Check the underwire. It should trace your natural crease without poking your armpit or leaving gaps and wrinkles at the base of the cup.
- Check the straps. You should be able to slide two fingers under each one. Straps are only meant to carry 10–20% of the load if they’re doing more than that, the band is too loose.
Frequently Asked Questions
Why does my calculator result seem so much bigger than my current bra size? This is common enough that the fitting community has a name for it: “sticker shock.” Cup letters aren’t fixed volumes they’re proportions. A 28E and a 34B hold roughly the same amount of tissue. A bigger cup letter paired with a smaller band usually just means your volume is finally distributed correctly.
What if my three bust measurements are really different from each other? A gap of several inches between standing and leaning usually points to softer or more projected tissue. In that case, the calculator may give you a size range with sister sizes to try (for example, 32FF with 32F and 32G as backups). Start with unlined, seamed bras rather than foam they flex with your shape instead of forcing it into a mold.
Does this method work after surgery, nursing, or weight changes? Yes arguably it works better for these situations than standard sizing does. After weight loss or nursing, tissue often becomes softer, and the leaning/lying measurements catch that. After augmentation, tissue tends to be firmer and more projected, and the calculator accounts for that too. For asymmetry, measure over your larger side, fit the bra to that side, and use a modesty pad on the smaller side if needed.
What are sister sizes? Sizes that hold the same cup volume but sit on different band lengths. If a band is too tight, go up a band size and down a cup letter (32DD → 34D). If it’s too loose, go down a band and up a cup (34D → 32DD). Always sort out the band before you lean on sister sizing.
Why do my straps keep sliding off? It’s almost never the straps’ fault it’s usually a band that’s too big. A loose band sits too wide on your shoulders, which pushes the straps outward. Sizing the band down usually fixes it.
Why does my cup gap at the top even though the calculator says I need a bigger size? Gapping doesn’t automatically mean “too big.” It often means the cup is too shallow or the wrong shape for your fullness, which pushes the whole bra away from your chest.
The Bottom Line
A bra that actually fits shouldn’t require constant readjusting, tugging, or wincing every time you take it off. The six-measurement method trades retail guesswork for something closer to a real fitting and pairing your calculated size with an honest look at your shape is what actually gets you to lasting comfort, not just a number that looks right on paper.
1 thought on “Bra That Fits Calculator: The Full 6-Measurement Guide”